Background
This week Anna, Stephan, Timo and myself were at W-Jax a big conference in Munich on enterprise technologies and especially Java. The interest in Docker and Giant Swarm was astonishing. One question that came up quite often was: How do I get started with Java development on Docker? Personally, I’m a friend of small examples - leveraging a minimal framework with a couple of files and off you go. Unfortunately this is hard to find in the Java world, since most examples require some sort of IDE and deep knowledge in the appropriate web framework. With this article I try to fill this gap. It gets you started with Docker and Java with minimal overhead and upfront knowledge.
The setup
There are tons of Java web stacks and we are not picking sides here. But we wanted a very minimal framework and chose Spark, a tiny Sinatra inspired framework for Java 8. If you look at the documentation of Spark it uses Maven as its build tool. In our example we will leverage Maven and Docker’s layered file system to install everything from scratch and at the same time have small turn around times when recompiling changes.
So the prerequisites you need: no Java, no Maven, just Docker. Crazy, eh? ;-)

The source and config Files
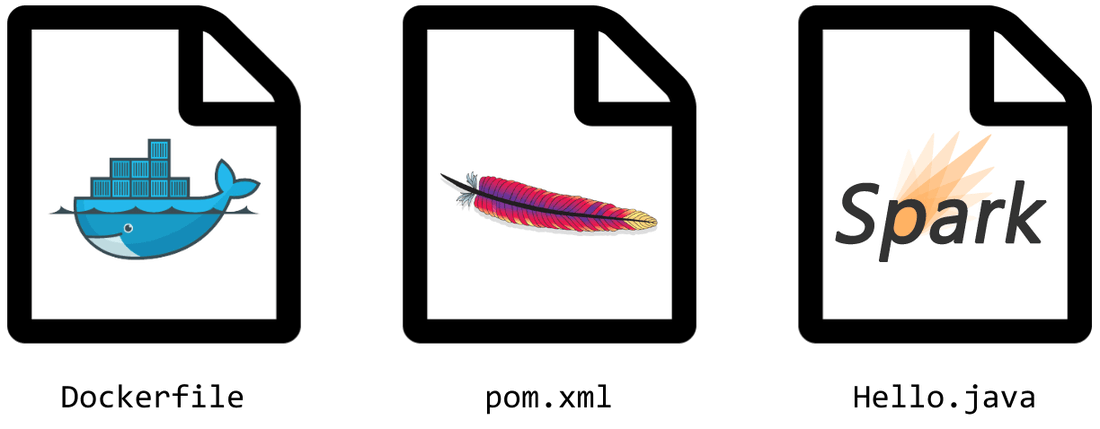
For our example you have to add three files:
- The Maven config: pom.xml
- A Java class: Hello.java
- The Dockerfile
The TL;DR readers who can’t wait, can just clone this repo: https://github.com/giantswarm/sparkexample
Setting up your POM file
The pom.xml contains a very basic Maven configuration. It configures the Spark dependencies using a Java 1.8 compiler and creates a fat jar with all the dependencies. I’m in no way a Maven expert so pull requests to make this example simpler and more streamlined are more than welcome.
<?xml version="1.0" encoding="UTF-8"?>
<project xmlns="http://maven.apache.org/POM/4.0.0" xmlns:xsi="http://www.w3.org/2001/XMLSchema-instance"
  xsi:schemaLocation="http://maven.apache.org/POM/4.0.0 http://maven.apache.org/xsd/maven-4.0.0.xsd">
  <modelVersion>4.0.0</modelVersion>

  <groupId>hellodocker</groupId>
  <artifactId>hellodocker</artifactId>
  <version>1.0-SNAPSHOT</version>

  <dependencies>
    <dependency>
      <groupId>com.sparkjava</groupId>
      <artifactId>spark-core</artifactId>
      <version>2.0.0</version>
    </dependency>
  </dependencies>
  <build>
    <plugins>
      <plugin>
        <groupId>org.apache.maven.plugins</groupId>
        <artifactId>maven-jar-plugin</artifactId>
        <version>2.4</version>
        <configuration>
          <finalName>sparkexample</finalName>
          <archive>
            <manifest>
              <addClasspath>true</addClasspath>
              <mainClass>sparkexample.Hello</mainClass>
              <classpathPrefix>dependency-jars/</classpathPrefix>
            </manifest>
          </archive>
        </configuration>
      </plugin>
      <plugin>
        <groupId>org.apache.maven.plugins</groupId>
        <artifactId>maven-compiler-plugin</artifactId>
        <version>3.1</version>
        <configuration>
          <source>1.8</source>
          <target>1.8</target>
        </configuration>
      </plugin>
      <plugin>
        <groupId>org.apache.maven.plugins</groupId>
        <artifactId>maven-assembly-plugin</artifactId>
        <executions>
          <execution>
            <goals>
              <goal>attached</goal>
            </goals>
            <phase>package</phase>
            <configuration>
              <finalName>sparkexample</finalName>
              <descriptorRefs>
                <descriptorRef>jar-with-dependencies</descriptorRef>
              </descriptorRefs>
              <archive>
                <manifest>
                  <mainClass>sparkexample.Hello</mainClass>
                </manifest>
              </archive>
            </configuration>
          </execution>
        </executions>
      </plugin>
    </plugins>
  </build>
</project>
Hello.java
The assembly section of the pom.xml defines a main class that is called when the app starts: sparkexample.Hello. Lets create this file in the subdirectory src/main/java/sparkexample/:
package sparkexample;

import static spark.Spark.get;

public class Hello {

    public static void main(String[] args) {
        get("/", (req, res) -> {
            return "hello from sparkjava.com";
        });
    }

}
As you can see this is modern Java code: it uses static imports and lambda expressions, which makes this example quite compact. The class contains a main method, with a response to a root request (“/”). As common with HelloWorld this response is just a simple string. Please consult the Spark documentation for further information on expressing different routes.
Dockerfile
Setting up your dockerfile is pretty straightforward:
FROM java:8

# Install maven
RUN apt-get update
RUN apt-get install -y maven

WORKDIR /code

# Prepare by downloading dependencies
ADD pom.xml /code/pom.xml
RUN ["mvn", "dependency:resolve"]
RUN ["mvn", "verify"]

# Adding source, compile and package into a fat jar
ADD src /code/src
RUN ["mvn", "package"]

EXPOSE 4567
CMD ["/usr/lib/jvm/java-8-openjdk-amd64/bin/java", "-jar", "target/sparkexample-jar-with-dependencies.jar"]
The Dockerfile uses a plain Java image (java:8) and starts with installing Maven. In the next step it only installs the project dependencies. We do this by adding the pom.xml and resolving the dependencies. As you will see, this allows Docker to cache the dependencies. In the next step we actually compile and package our app, and start it.
If we now rebuild the app without any changes to the pom.xml, the previous steps are cached and only the last steps are run. This makes turnaround times much faster.
Building and running
Once you have these three files in place, it is very easy to build the Docker image:
docker build -t giantswarm/sparkexample .Note that this will take a while when you start it for the first time since it downloads and installs Maven and downloads all the project’s dependencies. Every subsequent start of this build will only take a few seconds, as again everything will be already cached.
Once the image is built, start it with:
docker run -d -p 4567:4567 giantswarm/sparkexampleAnd test it with:
curl localhost:4567Now go ahead and change something in the source (like returning your own message) and rebuild this…. Isn’t it great!?
Conclusion
Although this a very basic example. I hope I got you started and hooked with Java development on Docker. I am looking forward to your comments and thoughts. What should we add to this example? Get your hands dirty, fool around with the files, and leave comments and pull requests with improvement suggestions.